erpWizard’s General Ledger Module Part 2/4 [How To]

Last Updated on October 18, 2024 by Tatyana Vandich
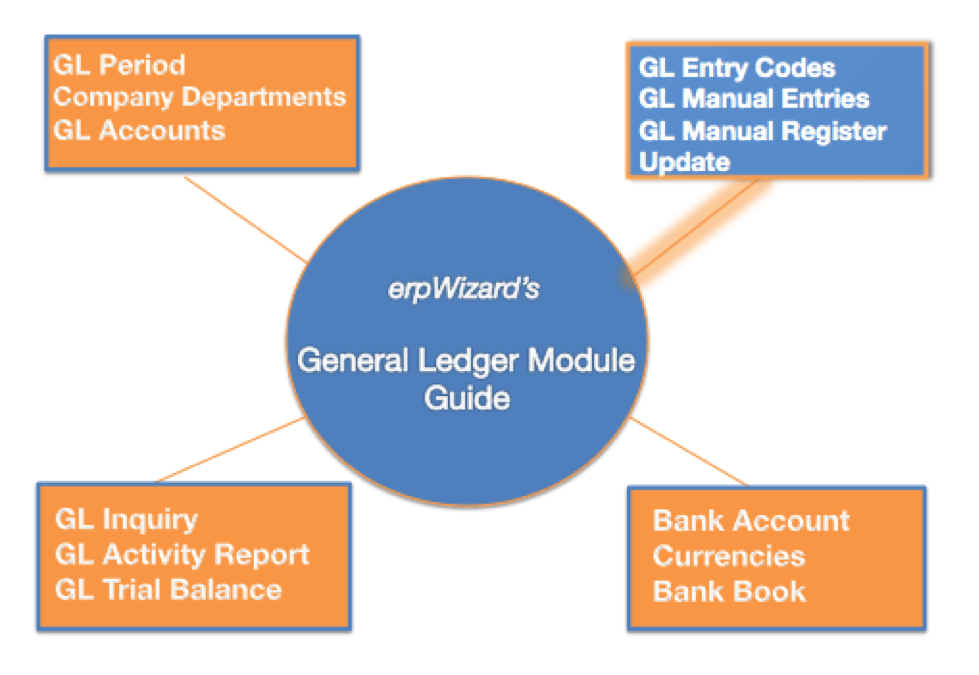
Today’s erpWizard guide is a continuation into our General Ledger module. I will go on to explain how to setup the GL Entry Codes, create GL Entries and update them into the GL. To see Part 1 of this guide, click here.
Once again, to begin using erpWizard, you must be logged in with a user account that has the system rights to Create/Modify/Delete GL Entry Codes, GL Manual Entry and GL Manual Register. If you do not have these rights, you will need to ask your system administrator to assign them to you. In order to move onto this section, please be sure that you have already set up the GL Periods, Company Departments and GL Accounts.
GL Entry Codes
Before creating GL Entries, you must first setup the GL Entry Codes. These codes are used to help you differentiate your entries.
To begin, select G/L Entry Codes from the menu. This can be found in the Accounting menu under General Ledger, Master Tables. You can run the program by either double-clicking on it or by right-clicking and selecting Run Program.
Click the New button to create a new GL Entry Code. Enter the unique Code and the Description. You can modify the Code Description at any time.
You may also delete a GL Entry Code, only if it has not been used in the GL Manual Entries. A list of GL Entry Codes is also available to be printed and generated in a PDF file.
GL Manual Entries
Once the GL Entry Codes have been setup, you can now create GL Manual Transactions.
To begin, select G/L Manual Transactions Entry from the menu, found under the Accounting menu under General Ledger, Entries and Processing.
Select the Company for which you wish to create the GL Manual Entry. Each company will have their own entries.
Select New from the menu to create a GL Manual Transaction Entry. Select the Mode from the pre-determined drop-down list. There are 3 different Modes:
- Actual will affect your actual GL Account Activity
- Budget entries are usually created at the beginning of the year as guidelines for each account
- Projection entries are used to increase or decrease the budgeted amounts while allowing the actual budget to remain static
Next, select the Entry Type from the pre-defined drop-down list. There are 3 different types:
– Simple: regular one-time GL Entry
– Accrual: can be used for an entry that would repeat for multiple periods
– Repetitive: can be used for an entry that would repeat for multiple periods
If you selected “actual” or “repetitive” as the entry type, you will need to enter more information, such as the Start Period, the No. Times to repeat or reverse as well as the Frequency.
At this point you are able to select the GL Account, enter the Amount in either the Debit or Credit Column, add a new line and repeat these steps for each GL Account in your entry. In order for these entries to be saved, it must balance, meaning the total debits must equal the total credits.
You may make changes or delete a GL Manual Transaction entry so long as it has not been posted.
GL Manual Register Update
Now that the GL Manual Transactions have been entered, you need to update them to the GL where they will be posted to the proper GL Periods and GL Account balances.
First step is to select G/L Manual Register Update from the menu, under Accounting, General Ledger, Entries and Processing. Select the company of the GL Manual Transactions you would like to post. The Registers will be listed in reverse order, with the latest one at the top. Select the register to be updated and then the Print Register button in order to generate a PDF file with the list of transactions to be posted with the register update. If there are any discrepancies or changes you wish to make, you must do so before you run the update register option.
Once all has been verified, you can proceed with the update by selecting Update Register to G/L. The register is now updated and will be flagged as Posted with the date and time. A new register will also be generated for future transactions.
This concludes part 2 of our ‘How To’ guide into erpWizard’s General Ledger Module. Keep a look out for part 3 to learn about the GL Inquiry, GL Activity Report and the GL Trial Balance.


Leave a Reply
Want to join the discussion?Feel free to contribute!