Business Software Solutions & IT Services
  • Solutions
    • EDI Integration
    • eCommerce Integration
    • Systems Integration
    • Business Intelligence (BI)
    • Cloud Managed Services
    • ERP Solution
    • Business Continuity Solution
    • FactoryEye
  • Consulting
    • Technology Consulting
    • IT Project Management
  • Company
    • About Us
    • Testimonials
    • Careers
  • Insights
    • Customer Case Studies
  • Blog
  • Contact
  • Search
  • Menu Menu
  • Facebook
  • Twitter
  • LinkedIn
IT Blog
You are here: Home1 / IT Blog2 / Blog3 / Deposits and Checks Received Entry [How To]
Blog

Deposits and Checks Received Entry [How To]

(Last Updated On: December 13, 2022)

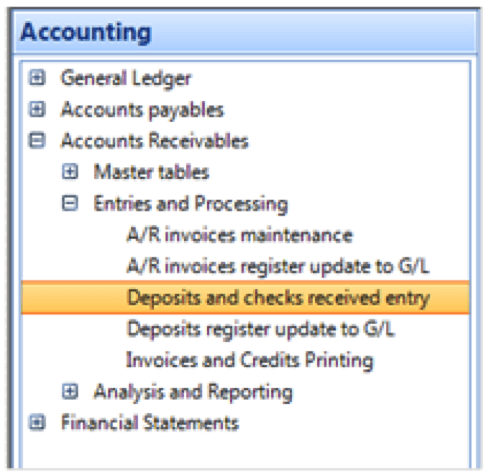
This ‘HOW TO’ article features the steps to take in order to navigate through a section called Deposits and Checks Received Entry in the Accounting module of erpWizard, Namtek’s fully integrated ERP software solution. This section can be found under Entries and Processing under Accounting/Accounts Receivables (see table below).

accounting

Once you click on the appropriate section, the following screen will appear:

accounting2

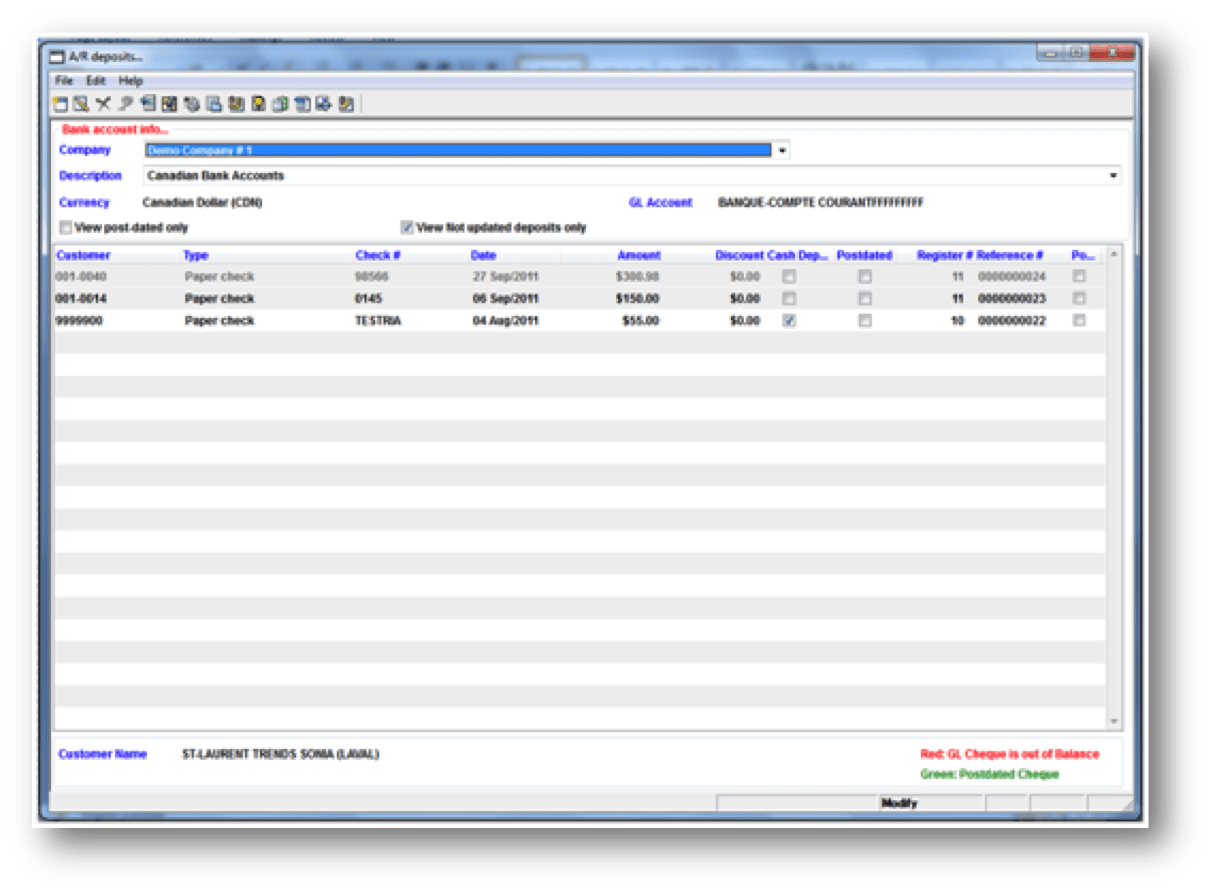
From the above screen, you can view the details of all existing entries and you will have the option to create a new entry or delete one (that has NOT been updated). Other available options include printing the bank deposit slip and other reports.

Checks Received Entry

Right-click and select “New” from the menu. The following screen will appear:

accounting3

–       Select the Deposit Type from the drop-down list. The choices are:

  • Paper Check
  • Wire Transfer
  • Direct Deposit
  • NSF
  • On Account Payment
  • Write OFF
  • Claim
  • G/L Payment

–       If the deposit is in cash, then click the Cash Deposit box. You will still need to choose the Deposit Type.

–     Enter the Customer code or click the “…” button to zoom and select the customer from a list of available customers.

–       Enter the Cheque No. from the Customer’s check

–      The Reference # is for internal information purposes only. The system will suggest a sequence number for you that you can leave as is.

–       Enter the Amount of the cheque

–       Enter the Deposit On Date. This is the date that you are putting the cheque in your bank account. You may also press the “…” button to zoom to the Calendar and choose the date.

–       Select the Bank Account from the drop-down list.

–       Click the “Save” button to save the entry and proceed with the tagging of the invoices

Once you have clicked the “Save” button, you will get a message telling you that the cheque was inserted and the following screen will appear:

 accounting4

  • Select the invoices the customer is paying with the cheque by tagging them. Tag the invoice by selecting it and pressing the “Enter” key or by right clicking and selecting Tag Invoice from the menu.
  • Tagging the invoice will automatically set the payment amount. You could also manually enter the Payment amount if the amount being paid is less than the balance amount to be paid.

Once you have completed tagging the invoices, the Balance Amount in the bottom left corner should equal 0$.

Hope this process was simple enough and you are ready to start using erpWizard for your day-to-day tasks. Don’t hesitate to contact our team for more information or to get started.

July 14, 2014/by Pierre Namroud
Tags: Account Receivable, ERP, How To, Management Accounting
Share this entry
  • Share on Facebook
  • Share on Twitter
  • Share on WhatsApp
  • Share on LinkedIn
  • Share on Tumblr
  • Share on Reddit
  • Share by Mail
https://www.namtek.ca/wp-content/uploads/2016/11/accounting3.png 511 982 Pierre Namroud https://namtek.ca/wp-content/uploads/2022/10/LOGO-NAMTEK-Home_page.png Pierre Namroud2014-07-14 12:01:542022-12-13 13:55:33Deposits and Checks Received Entry [How To]
You might also like
ERP Software Challenges Facing Small & Medium Enterprises
Decision Time: Choosing an ERP Solution
Evaluate Your Business Processes Before Implementing an ERP System
Integrating all your Business Needs into ONE System
Relation amour/haine : Les dirigeants d’entreprise et les projets de mise en œuvre des ERP
How to get your business fully integrated and automated

Follow us on Facebook

Tags

Business Business business continuity cloud EDI ERP erpWizard IT mobile QBR

Popular Posts

Subscribe to our Blog

CONTACT US

400 Blvd Curé-Labelle, #304 Laval QC H7V 2S7 Canada
Phone: +1 450-681-3009
Email: support@namtek.ca
Website: https://www.namtek.ca/

Latest Blog Posts

  • Security of Your Microsoft 365Microsoft 365 – How to Increase SecurityJune 15, 2022 - 7:43 pm
  • Business AutomationBusiness Process Automation: How to Automate Business Processes in a Company and its GoalsMay 24, 2022 - 8:00 pm
  • IT SolutionsTechnology Trends that Influence the Digital Transformation of SMEsFebruary 11, 2022 - 9:06 pm

NEWSLETTER

Subscribe today to our Newsletter in order to stay up-to-date with all company news and events.

© 2023 Namtek Consulting Services
  • Facebook
  • Twitter
  • LinkedIn
  • Privacy Policy
Engaging Tech-Site Visits from Millennials [FUN Friday Infographic]EDI Processing Verification Steps [How To]
Scroll to top
This website uses cookies to improve your experience. We'll assume you're ok with this, but you can opt-out if you wish. Cookie SettingsRead MoreAccept
Manage consent

Privacy Overview

This website uses cookies to improve your experience while you navigate through the website. Out of these, the cookies that are categorized as necessary are stored on your browser as they are essential for the working of basic functionalities of the website. We also use third-party cookies that help us analyze and understand how you use this website. These cookies will be stored in your browser only with your consent. You also have the option to opt-out of these cookies. But opting out of some of these cookies may affect your browsing experience.
SAVE & ACCEPT
Go to mobile version